Blogs
Essential Guide to Finding Projector Screen Replacement Parts
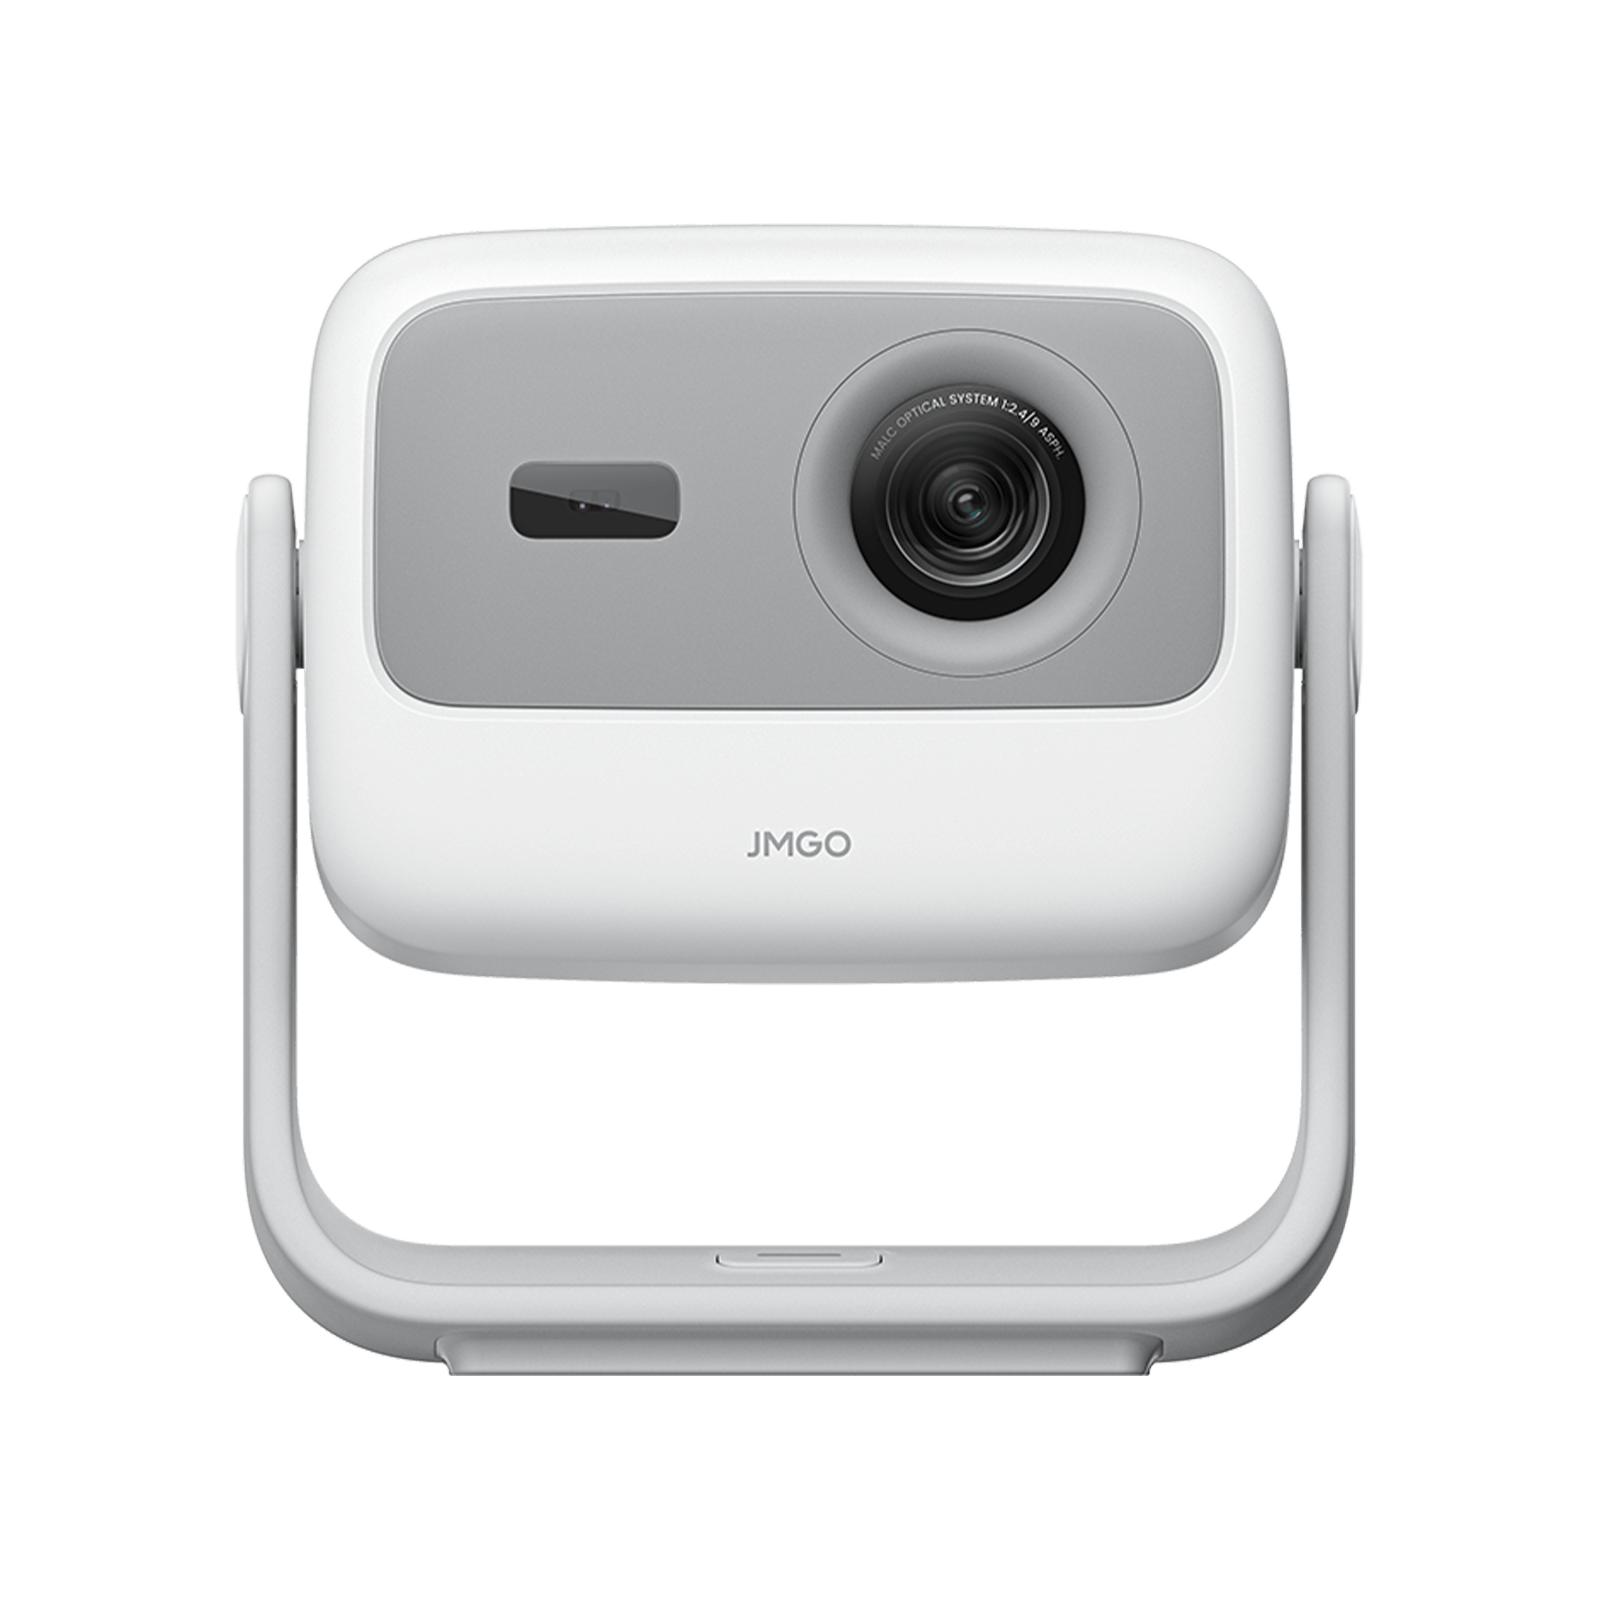
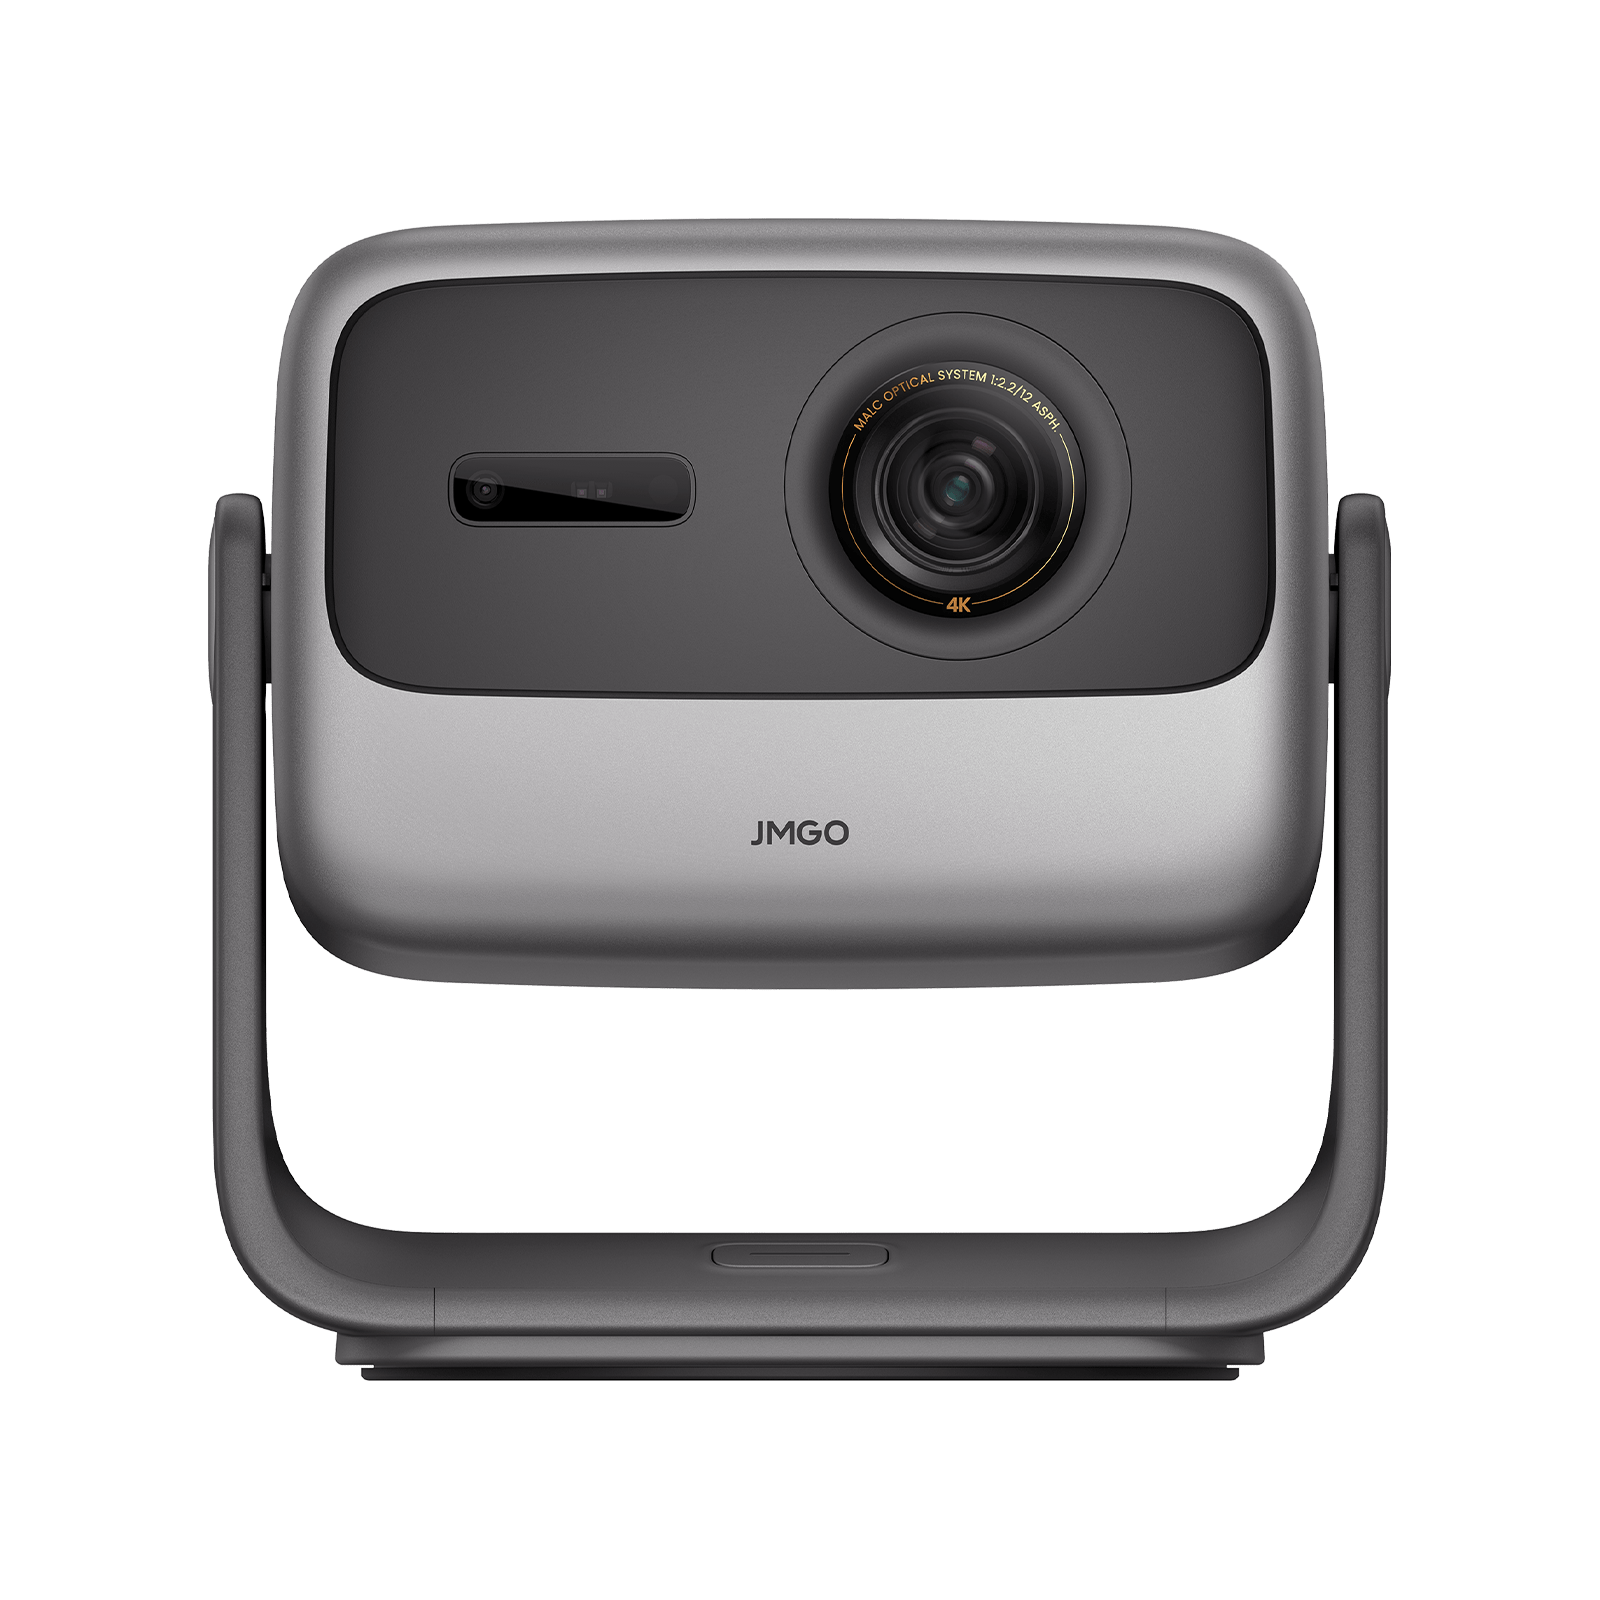
Your home theater setup is the heart of family entertainment, from movie marathons to game nights. A quality projector screen is a key part of that experience especially if you have projectors with Google tv. Nonetheless, with time, depreciation may lead to the need for spare parts. Be it a torn screen material, fractured screed brackets, or dislodged engine parts, understanding how to source for appropriate projector screen spare components will come in handy for your benefit and for your family’s film-watching activities as well. In this guide, you will learn all the necessary steps to find, identify, and buy the correct projector screen spare parts for your system. Identify the Parts That Need Replacing To initiate the search for replacement parts for the projector screen, it is important to first establish which components are worn out and need replacement. Some of the common parts that may get damaged with time and usage include: Screen Fabric: Over time and after prolonged use, there can be wear and tear, resulting in discoloration, wrinkles, or even tears. The projection performance of your projector can be improved by changing the screen material. Mounting Brackets and Screws: If the screen begins to sag or doesn’t stay secure, you may need to replace the brackets or screws holding it in place. Motorized Components (for Electric Screens): In the case of ceiling or pull-down screens, the motor may function ineffectively or fail. Under such circumstances, it would be important to replace the motorized components to ensure that the screen operates adequately. Tension Rods and Support Frames: These components guarantee that the screen is both flat and under tension. With the passage of time, they may warp or weaken, causing less-than-ideal viewing conditions. Before searching for replacement parts, perform a detailed inspection of your projector screen to identify all the components that may need attention. Check the Manufacturer’s Website for Official Parts Once you've identified the parts that need replacing, the next step is to check the manufacturer’s website. Most of the well-known brands, including JMGO for projector screens, provide the replacement components for such modes. Using only original equipment manufacturer parts guarantees suitable fitting of components and preserves the quality of the home theater experience. Most manufacturers include detailed pictures and part numbers on their sites, which makes it possible to order exactly what you need without difficulties. Have your projector screen’s model number and serial number handy when browsing for parts. This information is typically found on a label on the back or side of the screen. Consider Third-Party Replacement Parts When it is impossible to find the manufacturer's parts or if they are very expensive, you may look for replacement parts from other suppliers. There are a number of online sellers, including Amazon and specialized home theater shops, who sell fitting parts for a number of projector screens. When you choose to use third-party parts, get reviews and check the part's model against your projector screen’s model. Home theater e-stores are better since they are likely to sell quality parts that will restore the functioning of your screen. Cross-check prices of aftermarket spare parts to those of the original equipment manufacturers. There are circumstances when certain third-party parts can be of comparable quality at cheaper prices than the third-party parts. Explore Local Home Theater Retailers Local home theater installation or electronics shops can also reduce the inconvenience of having to search for replacement parts for projector screens. Such retailer visits relax stress as customers have an opportunity to ask for assistance from specialists on the right parts and also some installation tips. Some stores may carry universal parts that can fit a range of projector screen models, while others might offer repair services if you need clarification on fixing the screen yourself. If you're not certain which specific part you require, it would be wise to take a picture of your projector screen or the broken piece and show it to the shop. Such a visual tool can assist the sales personnel in guiding you. Ensure You Have the Right Tools for Installation While replacing parts of a projector screen can be a do-it-yourself activity, it is crucial to get the necessary equipment to facilitate the process. Here are one or two tools that you may consider using based on the part you want to repair: Screwdrivers (Flathead and Phillips): For replacing brackets, screws, or other hardware. Allen Keys: Some tension rods or support frames may require Allen keys of specific sizes to be adjusted or replaced. Measuring Tape: Ensure that replacement parts, especially fabric or support rods, match the dimensions of your original screen. Lubricant: If your screen’s motor is malfunctioning or making noise, a bit of lubricant can sometimes restore smooth operation. Check the installation instructions for the replacement part before beginning. Some parts may require specialized tools or extra steps to install correctly. Consider Professional Repair Services In cases where you are uneasy with changing projector screen accessories by yourself, or if the problem involves more intricate parts such as electric motors, you might want to seek professional help. Most of the projector screen installation companies provide projector screen repair services as well, regardless of whether it is replacing broken parts or fixing the electric projector screen. This option may be especially beneficial if your screen is still under warranty, as some manufacturers may cover the cost of parts and repair under certain conditions. Before hiring a professional, compare prices between a DIY repair and a service repair. In some cases, professional installation can save time and hassle, especially for more complicated components. Know When to Replace the Entire Screen While replacing individual parts is often more cost-effective, there are instances when it may be better to replace the entire projector screen. For example, if multiple components are worn out or if the replacement parts are too expensive, purchasing a new screen might be the better option for maintaining the quality of your home theater setup. In addition, if your projector screen is a few years old, then you may want to consider replacing it with an upgraded one whose features include 4k and HDR display, such as the JMGO N1 Ultra, among other features, as this will enhance your viewing experience greatly. Compare the cost of replacement parts to the price of a new screen. If the difference is minimal, it might be worth investing in a new screen with updated technology and features. Maintaining Your Projector Screen for Longevity To avoid frequent replacements, proper care, and maintenance of your projector screen are essential. Here are a few tips to prolong the life of your screen: Regular Cleaning: Dust and dirt can degrade the screen fabric over time. Use a microfiber cloth or a gentle cleaning solution to wipe down the screen periodically. Avoid Direct Sunlight: UV rays can cause screen fabric to fade or deteriorate. Place your screen in an area where it’s shielded from direct sunlight. Proper Storage: If you have a retractable screen, make sure to store it properly when not in use to prevent damage or wear on the fabric. By taking these simple steps, you can extend the life of your projector screen and minimize the need for replacement parts. Conclusion Finding the appropriate replacement parts for projector screens does not have to be hard. You can fix your home cinema by merely discovering the broken part, going to the official website of the appropriate company, and looking for other or local sellers. Whether you opt for DIY repairs or seek professional help, having the right parts ensures your family can enjoy movie nights, games, and entertainment without disruption. Remember, maintaining your projector screen with regular care and using quality replacement parts when needed will enhance your viewing experience and prolong the life of your home entertainment setup.
Oct 07, 2024

